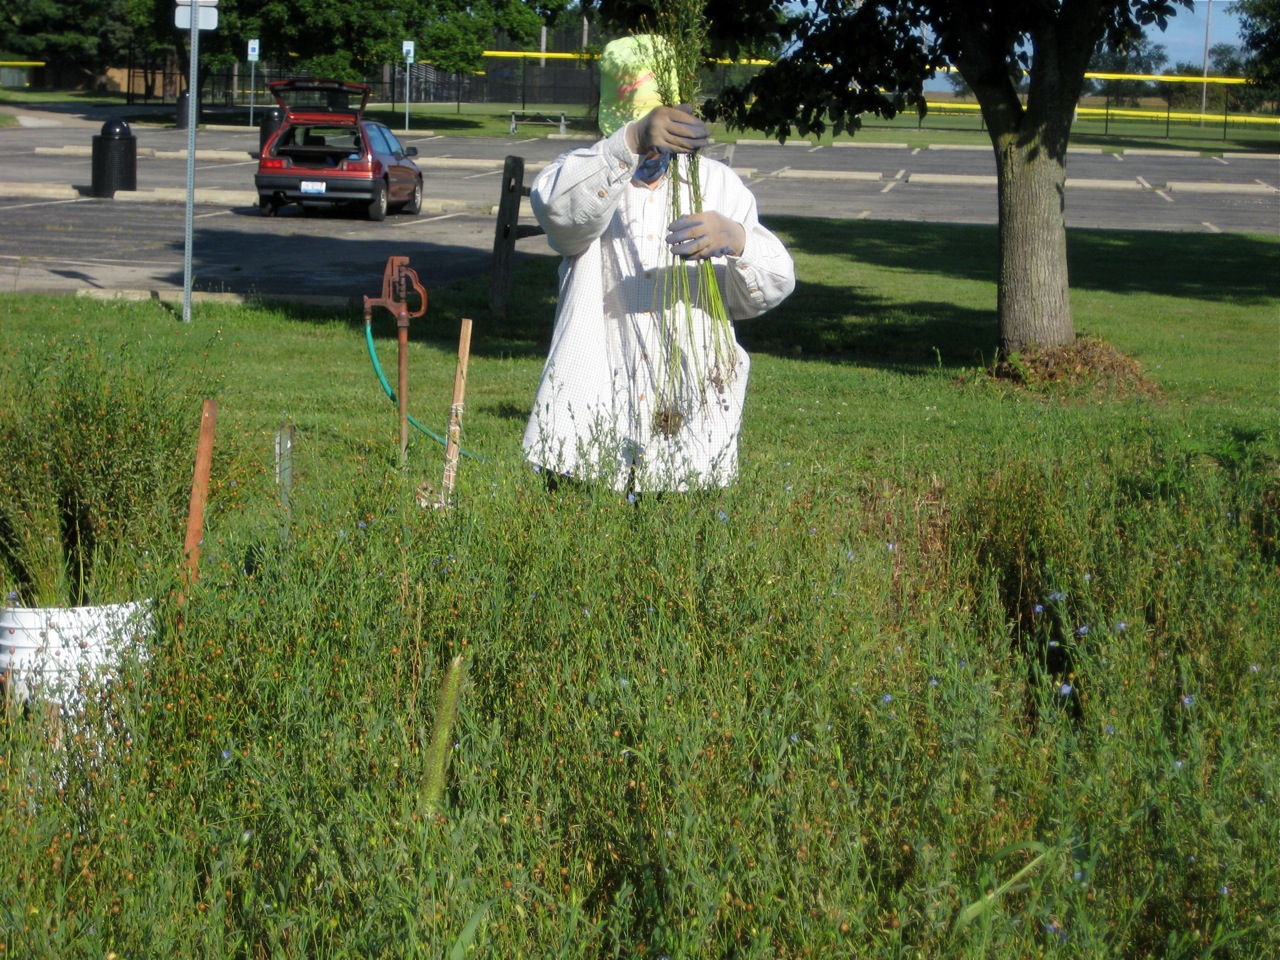
I’ve fallen rather far behind on my posts about growing flax this year, so this is something of a catch-up post. It covers the work we’ve done since harvesting—and not only brings us up to date, but pretty much finishes up the series. Jackie will, of course, spin our flax fiber into yarn, but she spins all the time, so that’s just normal around here.
So, in quick succession, here are the next steps after harvesting:
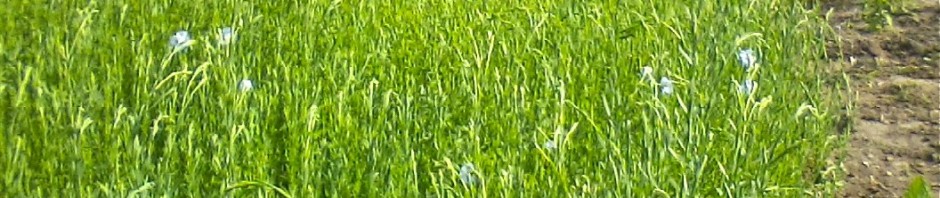
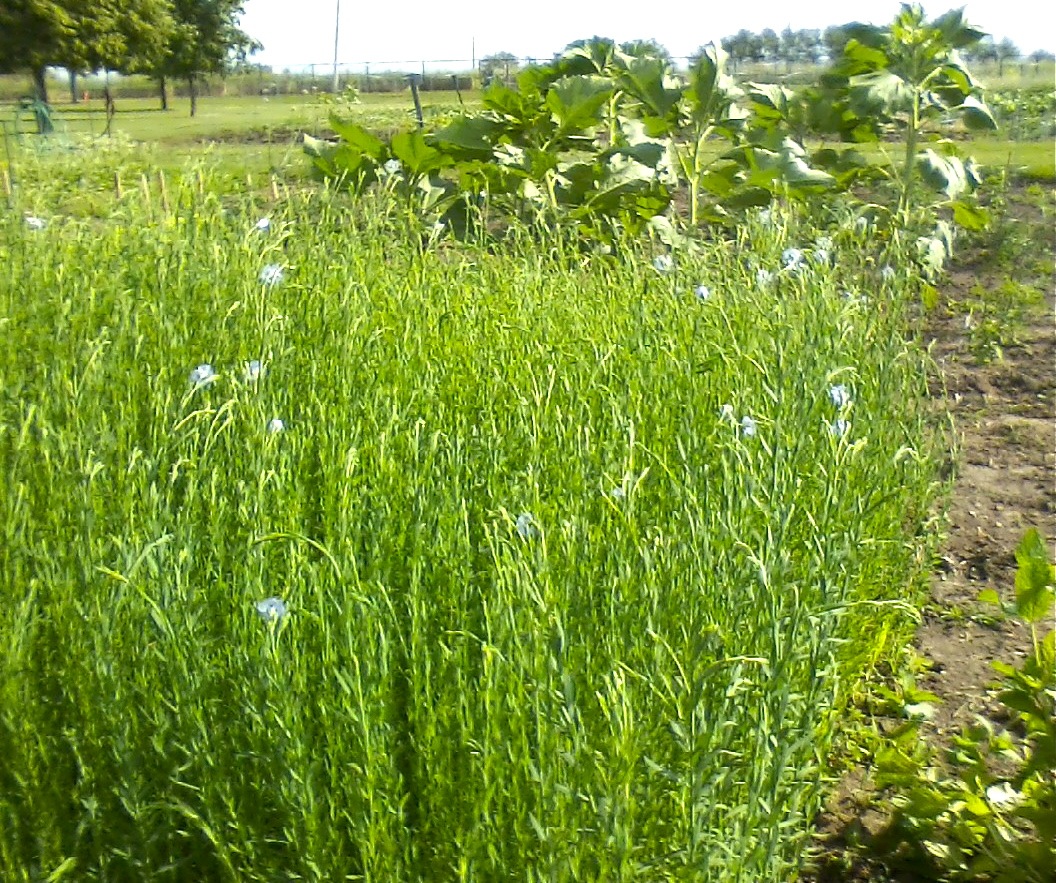
Drying
It’s a little odd that you’re supposed to dry the flax, giving that the next step is to soak it in water, and yet that’s how it’s done, and who are we to go against tradition?
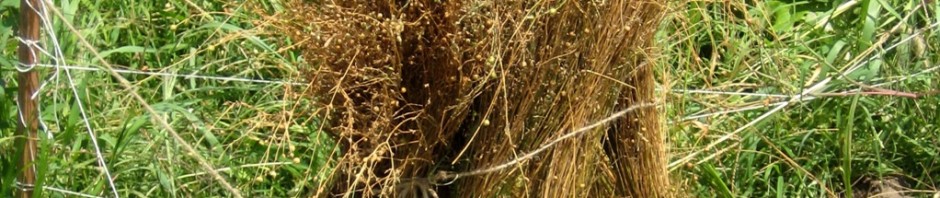
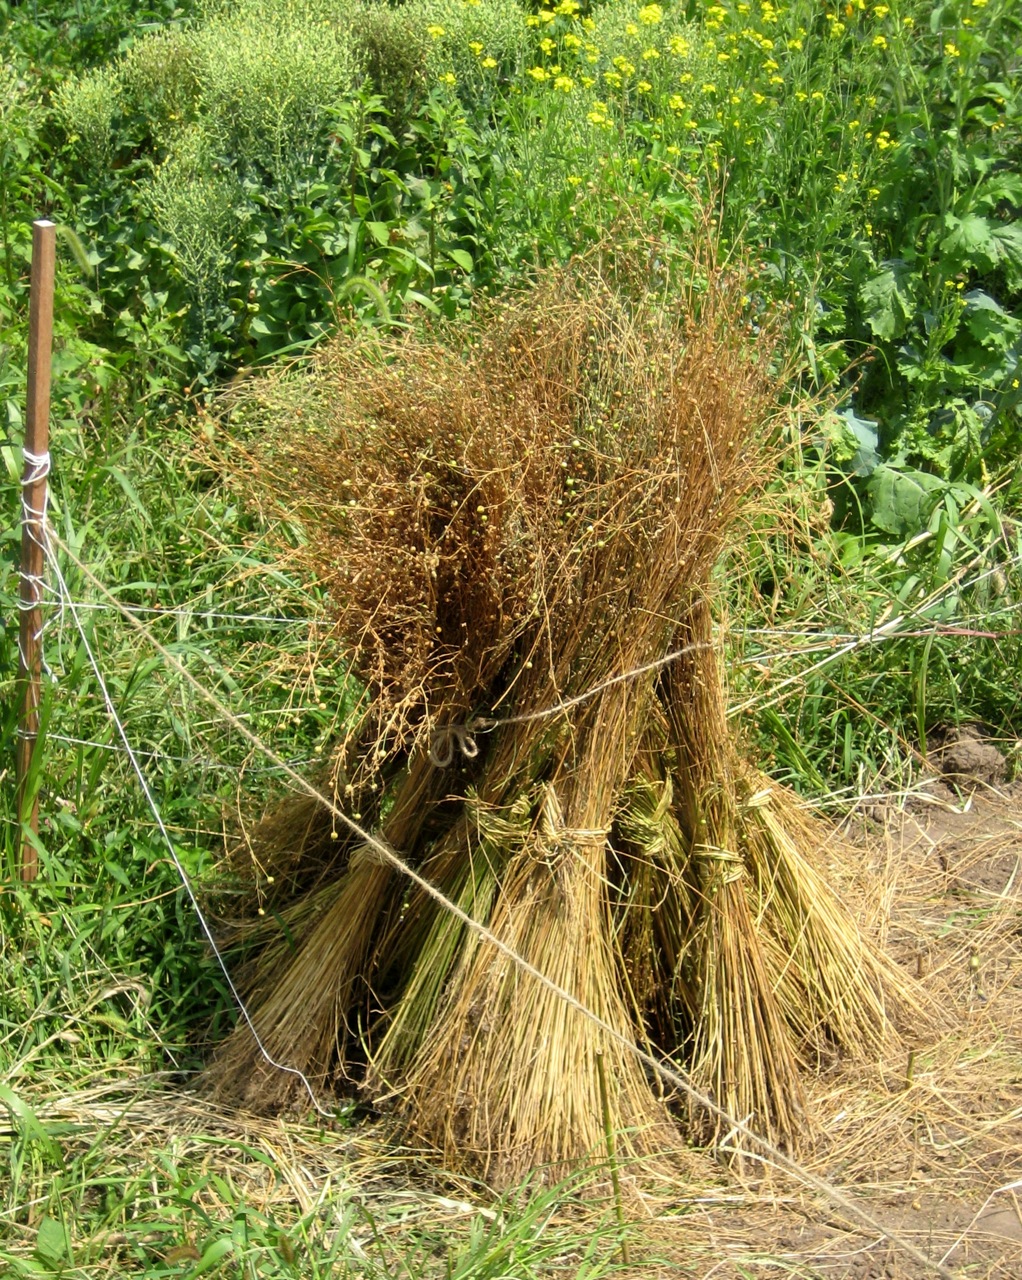
Here’s one of our little flax stacks. This is well along in drying, although you can see that some of the interior stems are still pretty green.

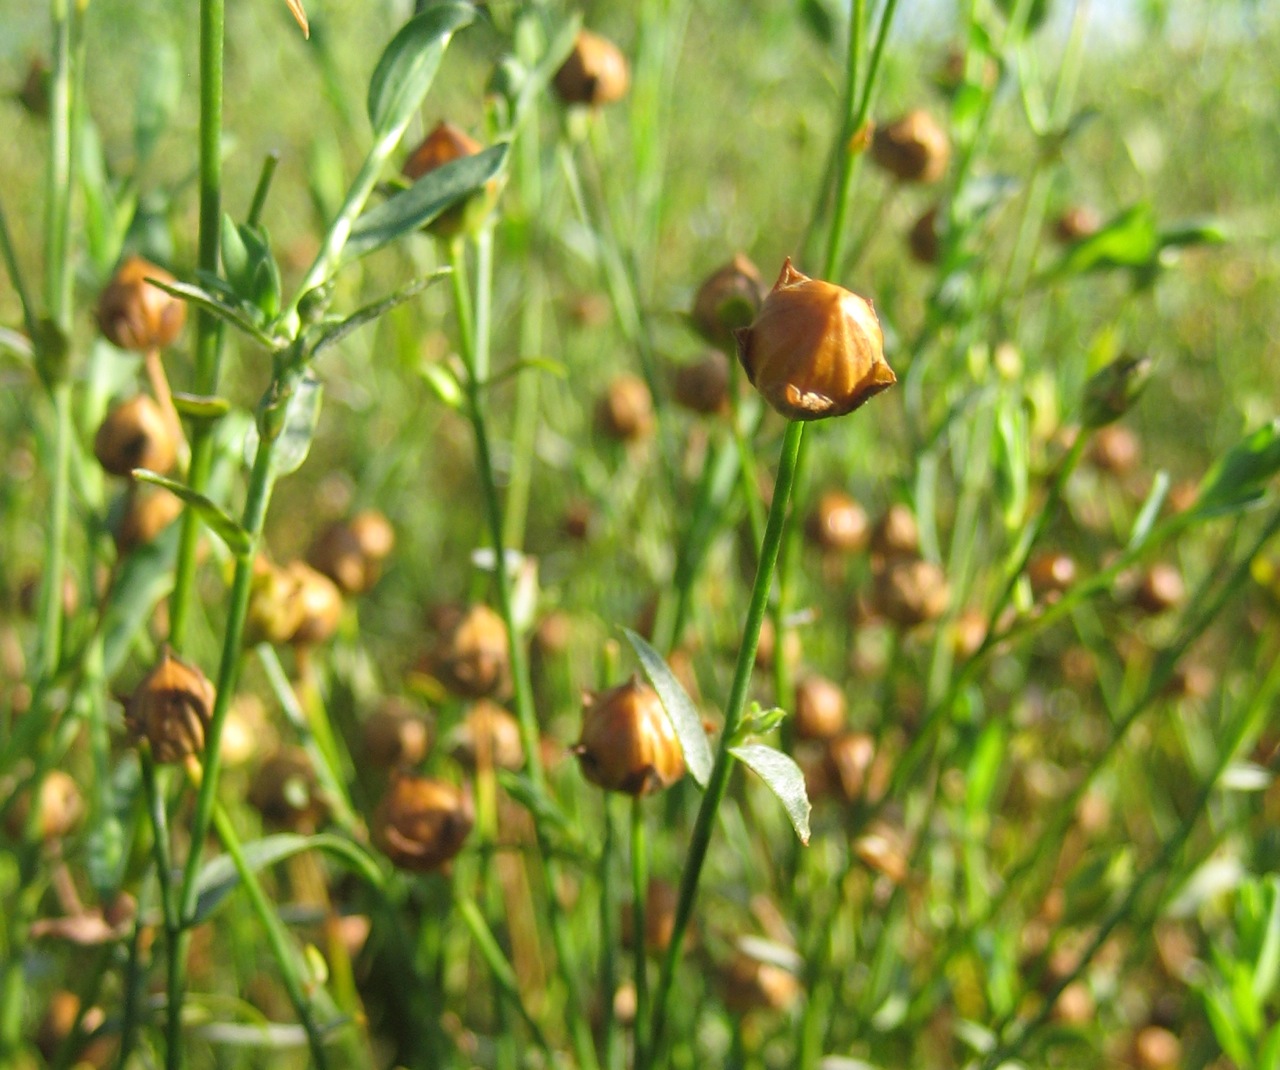
Rippling
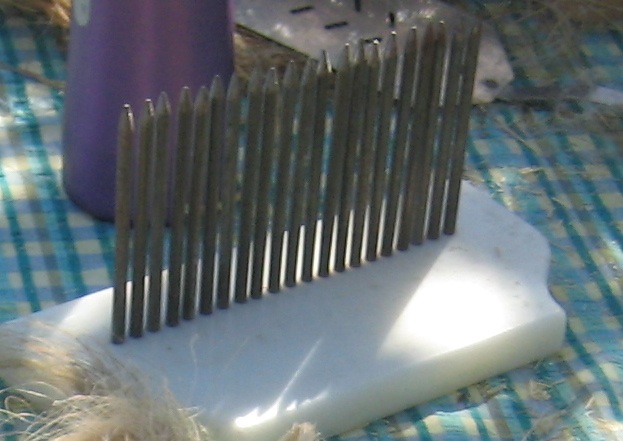
Once the plants are dry, you want to remove the seeds. There’s a tool that’s basically a bed of nails spaced appropriately for catching the seed pods.
I neglected to get a good picture of our ripple, but here’s one cropped out of a larger picture:

You just draw each bundle of plants through the ripple a few times, and collect the seed pods that pop off.
We got a big coffee container full of seed pods. Unfortunately, a lot of the seed pods only have two or three seeds in them, making it pretty tiresome work to get flax seeds. If you spend about fifteen minutes at it, crushing each pod and then getting the seeds out, you can get maybe a quarter-teaspoon of seeds.
I blame colony collapse disorder. (Flax is bee-pollinated. The native bees do the best they can, but evidently without complete success.)
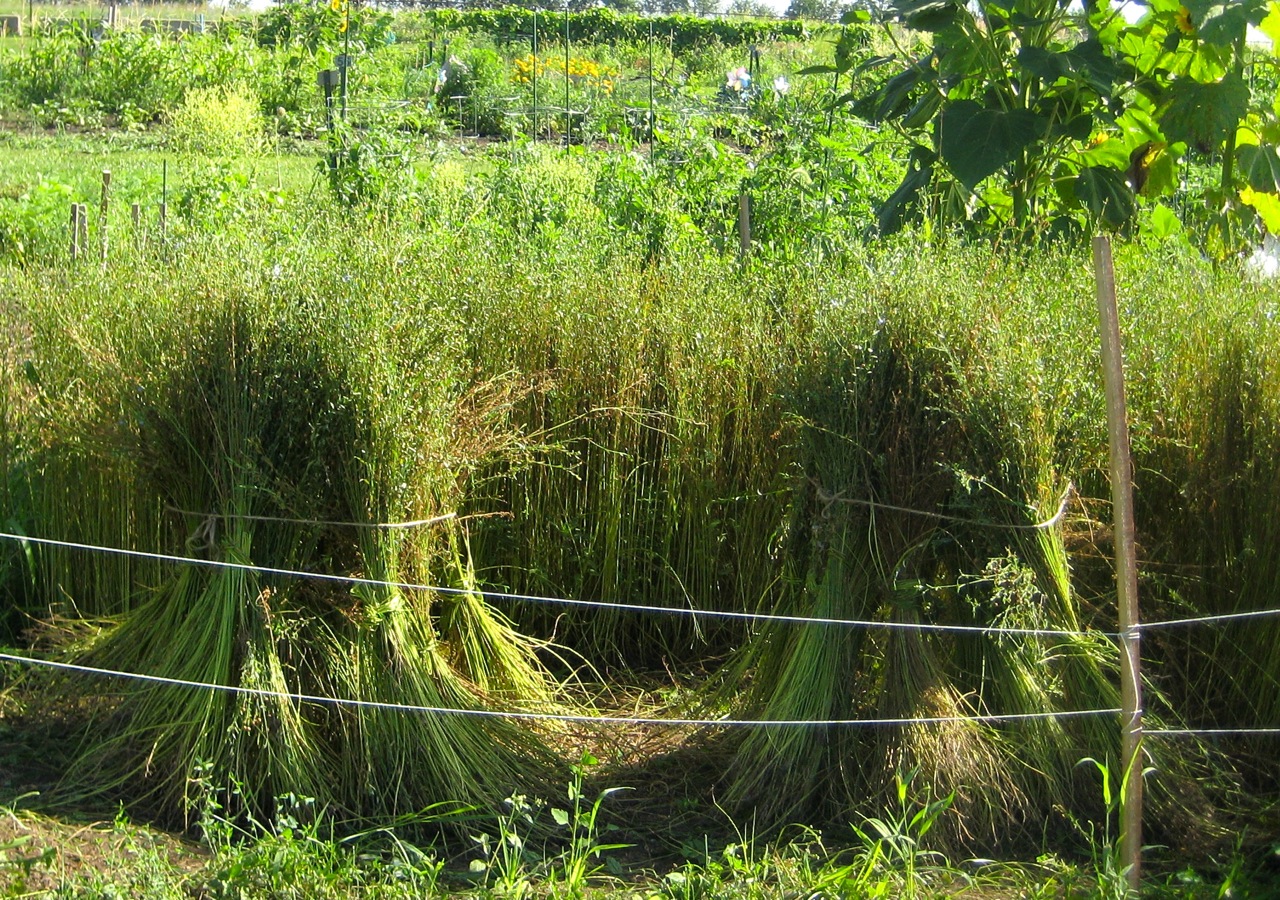
Retting
Once the flax is dry, you rett it—you subject it to a controlled rotting process, the purpose of which is to do some damage to the stem so that you can get to the fibers.
We retted our flax in a kiddy pool that we bought cheap at a local discount store:

You need to weight the flax down so that it’s all under water. We used some vinyl shutters that we got cheap at the Habitat for Humanity ReStore, together with some cheap tiles as weights.
Here’s a closeup of the bundles under the weights:

Retting is generally considered a stinky process, although ours wasn’t too bad. We retted each harvest separately, and it took about five days each time.
Drying, again
After retting, you have to dry the flax bundles. I didn’t get any pictures of this phase, but it’s not really different from the first phase of drying, except that now the bundles are rather limp, so that you need something for them to lean against if they’re going to stand up. The bundles have gotten lighter, though, so it doesn’t need to be anything very sturdy. We used the flower stalks of our bolted lettuce as supports.
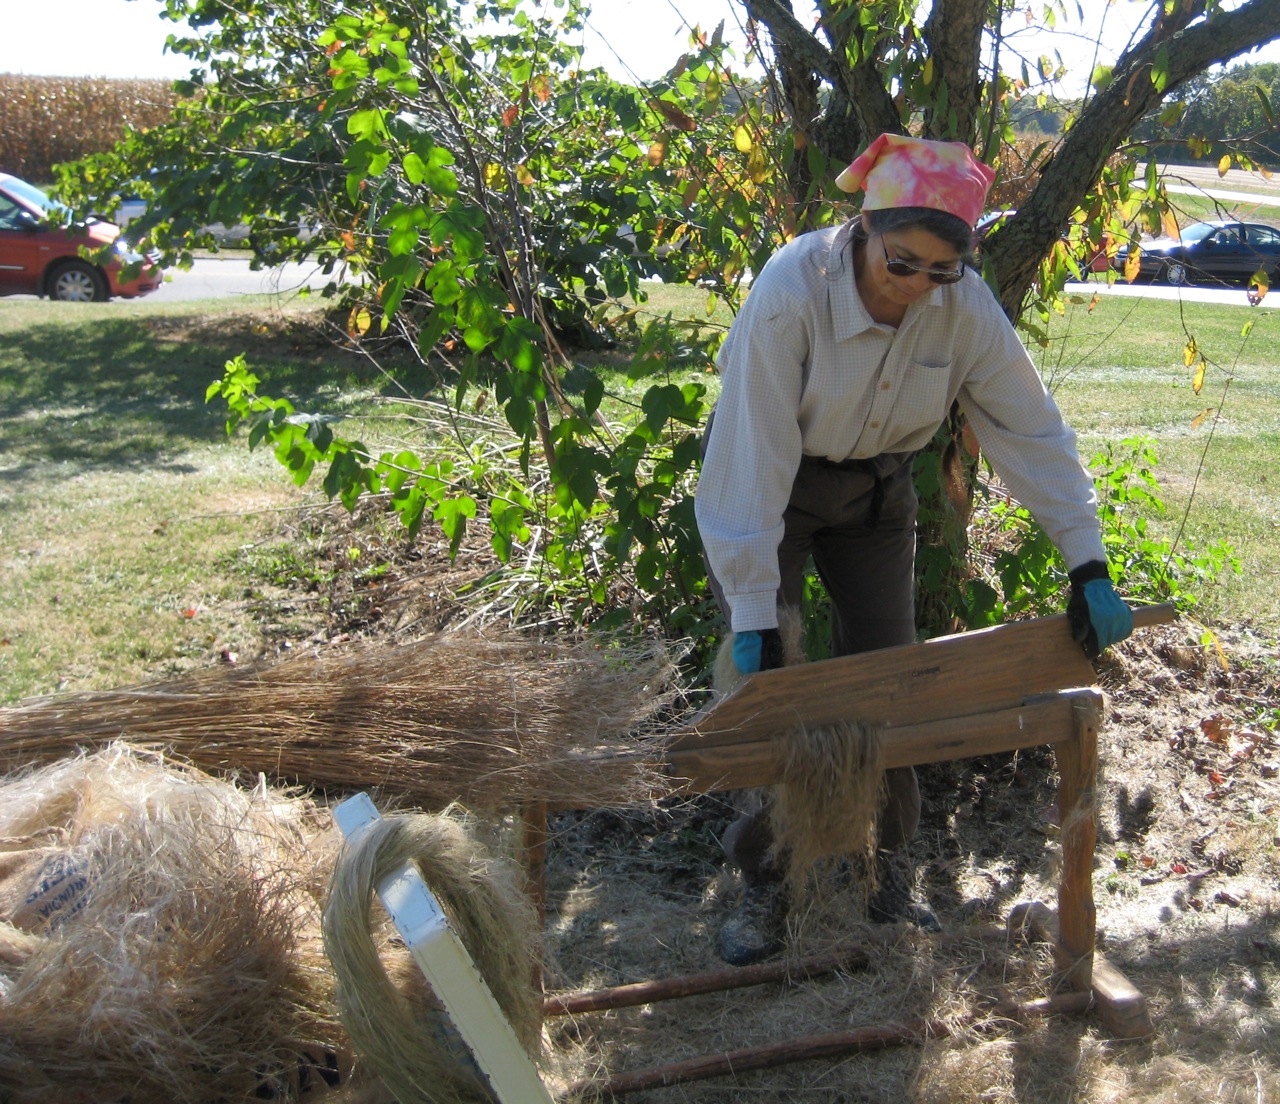
Breaking
Once the stems are dry, you need to break up the stem material that surrounds the fibers. This can be done with your bare hands (I did a couple of stems by hand, just to see the process in detail), but it would be pretty time-consuming and tedious. There’s a special tool for automating the process called a flax break. It’s kind of like a big paper-cutter, only with multiple blunt wooden blades
It turns out, there actually is a flax break not too far away, owned by Five Mile House, a historic homestead just south of Charleston, Illinois. They offered to let us use their flax break if we’d demonstrate how it was used.
So, on one Sunday in September, Jackie and I went to Charleston and “demonstrated” how to break flax. (I put the word in quotes because we really had no idea how to use the flax break, so our demonstration consisted mostly of letting people watch as we tried to figure it out.)
We only got about half the flax broken during that three-hour period, so we went back yesterday and finished the job.

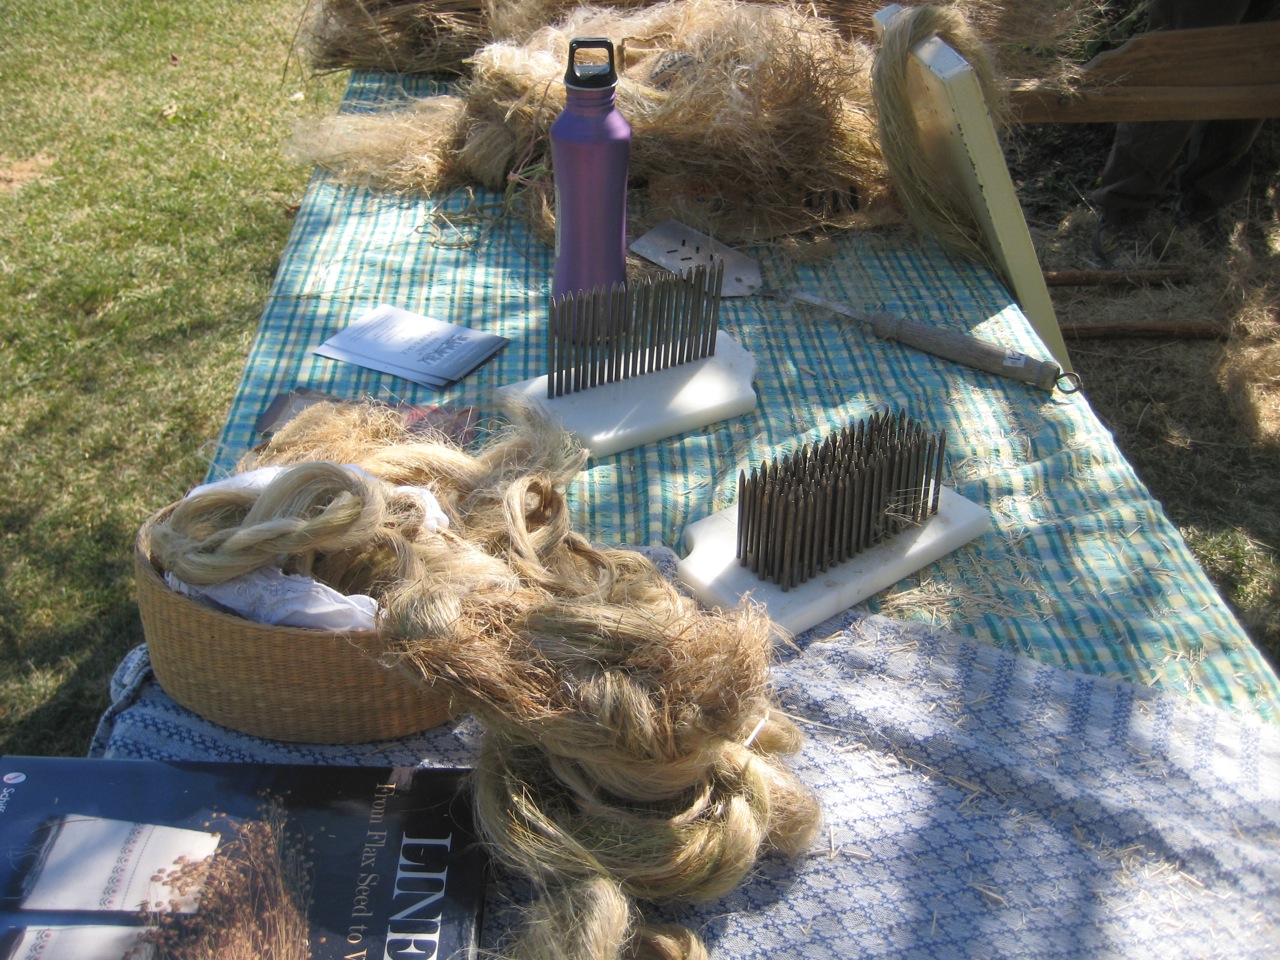
Scutching
If you do a good job of breaking, most of the unwanted material falls right off. (That material is called “boon” and is supposed to be good for all sorts of things. Basically, it’s mulch.)
Inevitably, some bits will still be wrapped around your fibers. Those bits are removed through scutching, which is striking the fiber bundles with something sharp enough to scrap things off the fibers, but not sharp enough to cut them. A real scutching knife looks rather like a wooden sword. We didn’t have one, but made do with various other items, such as a spatulas.
Hackling
The last step is to comb the fibers to make them ready to spin. This step is called hackling, and is done with a hackle, which is basically a bed of nails like a multi-row ripple.

You just grab the scutched bundle in the middle and draw it through the hackle. Any short or tangled fibers will get caught in the hackle, and after a few passes, the bundle in hand will be a tidy bundle of long, straight, neatly aligned fibers. The long fibers are called “line” flax, and are considered the good stuff. The short fibers are called “tow” and are perfectly good fibers, useful for many things, but not fine linens.
In our second visit to Five Mile House we finished breaking our flax. We also got a good bit scutched and hackled. What had been enough flax bundles to completely fill the back of our hatchback is now just three paper grocery bags full of fiber.
That’ll be enough to keep Jackie spinning through the winter.
It’s been a very interesting process, and a lot of fun, but I doubt if we’ll do it again.
My plan for next year, as crop to occupy a big chunk of the garden so we don’t have to keep weeding it, is barley. (First year, malt syrup. If that works, second year, maybe beer.)